DIY Reclaimed Wood Headboard Guide
Transform your bedroom with a custom headboard made from reclaimed wood. Follow our easy DIY steps for a rustic, cozy upgrade that's eco-friendly and budget-savvy.

Have you ever stared at your plain bedroom wall and dreamed of something more inviting? That blank space behind your bed holds so much potential. It's where comfort meets creativity, turning a simple sleeping area into a personal sanctuary. Imagine waking up to the warm textures of reclaimed wood, each piece telling its own story of history and sustainability. In this guide, we're diving deep into crafting a custom headboard that not only elevates your rustic bedroom makeover on a budget but also infuses that luxuriously cozy vibe we all crave. Whether you're a beginner dipping your toes into sustainable woodworking DIY or a seasoned crafter seeking fresh inspiration, this project promises to blend eco-friendly charm with hands-on satisfaction. Let's explore how reclaimed materials for home decor can redefine your space.
What Makes Reclaimed Wood Ideal for a Custom Headboard?
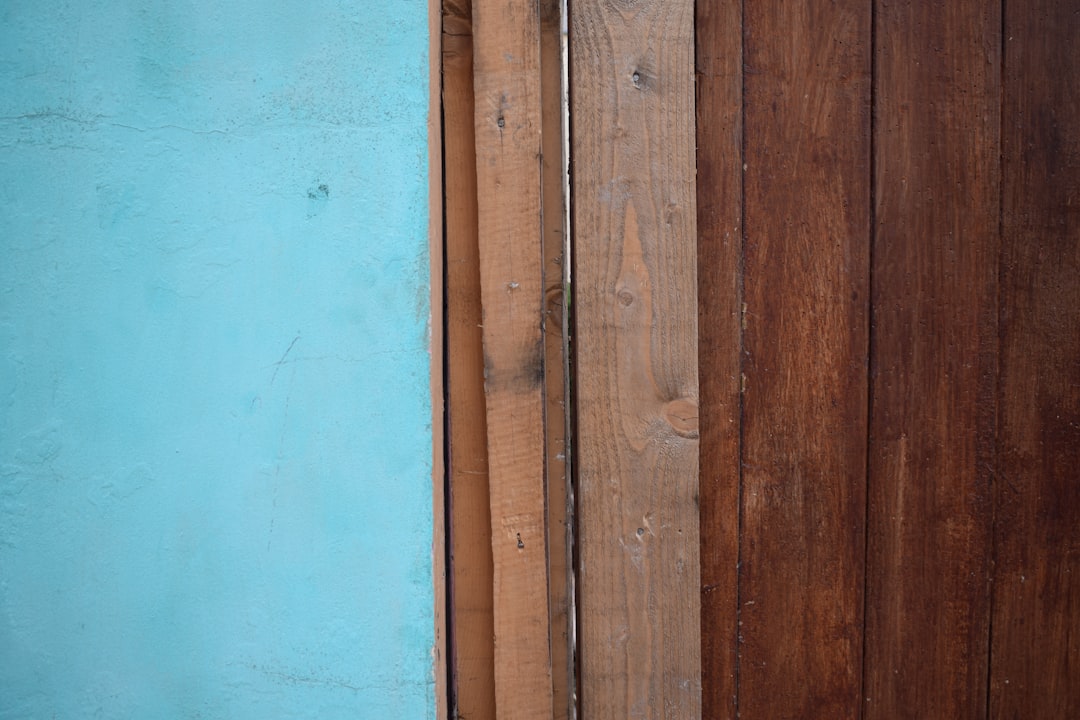
Reclaimed wood isn't just trendy—it's a smart choice for durability and character. Sourced from old barns, factories, or even shipping pallets, this material brings unique grains, knots, and patinas that new lumber can't match. Environmentally, it reduces waste and deforestation, aligning perfectly with eco-friendly DIY bedroom projects. From a design standpoint, it adds that authentic rustic flair, softening modern edges or enhancing farmhouse aesthetics. Plus, it's often more affordable than buying new, making it ideal for a rustic bedroom makeover on a budget. Think about the satisfaction of upcycling—turning 'trash' into treasure.
We love how reclaimed wood adapts to various styles. For instance, weathered barn wood offers a vintage feel, while pallet wood provides a cleaner, more uniform look if sanded properly. It's versatile enough for queen-sized beds (typically 60 inches wide) or king-sized (76 inches), with thicknesses ranging from 0.75 to 1.5 inches for stability. This material's natural imperfections? They become features, not flaws, adding depth to your cozy rustic bedroom inspiration.
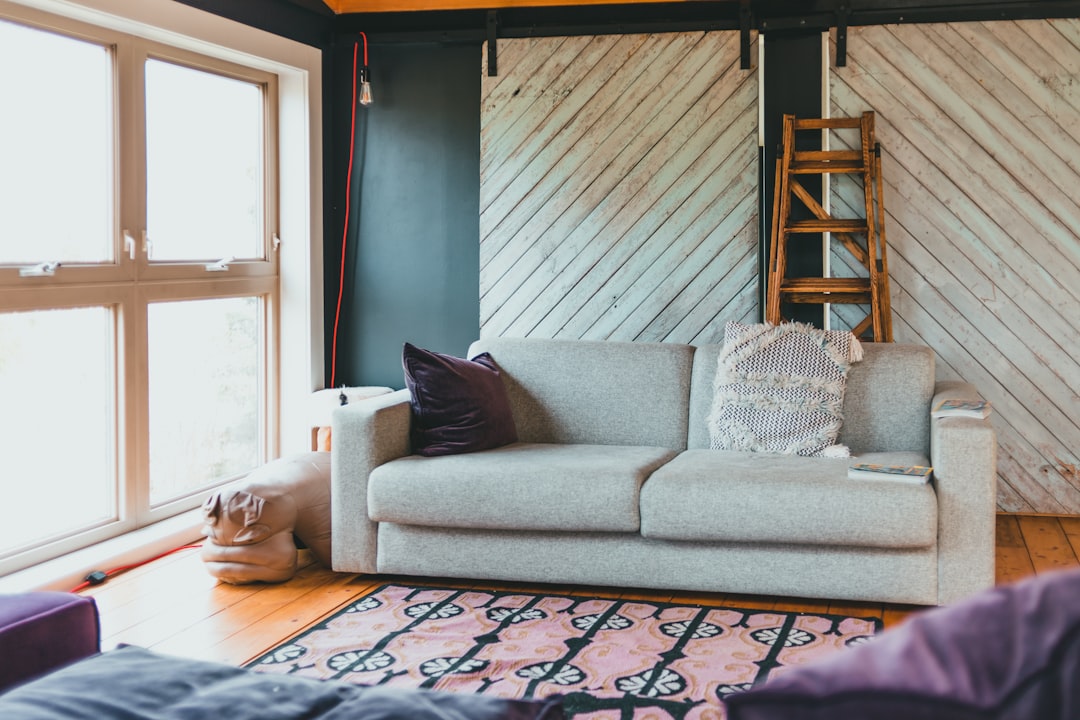
Real-World Examples of Stunning Reclaimed Wood Headboards
Picture this: A cozy cabin bedroom where a headboard crafted from century-old oak beams stands as the focal point, its deep brown tones contrasting crisp white linens. That's what one homeowner achieved in the Pacific Northwest, using wood salvaged from a dismantled pier. The result? A space that feels both rugged and refined, with the wood's salt-weathered texture evoking seaside memories.
Or consider a urban loft transformation. In a bustling city apartment, reclaimed pine from shipping crates formed a chevron-patterned headboard, measuring 64 inches wide by 48 inches tall. It brought warmth to the industrial setting, proving that diy reclaimed wood headboard ideas can thrive in modern environments. Another example hails from a family home in the Midwest—pallet wood arranged in horizontal planks, stained a soft gray, created a serene backdrop for colorful throw pillows. These cases show how step by step custom headboard tutorials can adapt to personal tastes, from minimalist to bohemian.
Here's a quick list of inspiring variations:
- Vertical Plank Design: Tall and dramatic, perfect for high-ceiling rooms.
- Herringbone Pattern: Adds geometric interest, using precise 45-degree cuts.
- Floating Style: Mounted with a 2-inch gap from the wall for a modern twist.
How to Craft Your Custom Reclaimed Wood Headboard Step by Step
Ready to roll up your sleeves? This sustainable woodworking DIY for beginners breaks down into manageable phases. We'll cover specific measurements for a standard queen bed: headboard dimensions of 62 inches wide by 48 inches tall, using 1-inch thick planks. Adjust as needed—add 16 inches for king size. Gather materials first: 10-12 reclaimed wood planks (each 6-8 feet long), wood glue, 2x4 lumber for framing (two 62-inch pieces for horizontals, three 44-inch for verticals), sandpaper (80-220 grit), wood stain or sealant, screws (1.5-inch wood screws), and basic tools like a saw, drill, and clamps.
Start with preparation. Source your wood responsibly—check local salvage yards or online marketplaces for certified reclaimed options. Inspect for nails, rot, or pests; remove any hardware with pliers. Cut planks to length: for horizontal layering, slice into 62-inch segments. Safety first—wear gloves and a mask to avoid splinters and dust.
Next, build the frame. Assemble the 2x4s into a rectangle: attach verticals to horizontals with screws every 12 inches for stability. This backbone ensures the headboard withstands leaning or minor impacts. Now, arrange your planks. Lay them horizontally across the frame, overlapping edges by 0.5 inches for a seamless look. Glue and screw them in place, spacing screws 6 inches apart along each plank's edge. For added strength, predrill holes to prevent splitting.
Sanding comes after assembly. Begin with 80-grit to smooth rough spots, progressing to 220-grit for a silky finish. This step is crucial for that luxuriously cozy feel—rough wood can snag fabrics. Apply stain: we prefer a natural oil-based one for enhancing grain without overpowering the wood's character. Two coats, drying 24 hours between, followed by a polyurethane sealant for protection against moisture.
Finally, mount it. Use French cleats for easy installation: attach one half to the headboard's back (at 36 inches from the bottom) and the other to the wall, ensuring it hits studs for security. Level it carefully— a 1-degree tilt can throw off the whole room's balance.
Transitioning smoothly, let's address potential hiccups before they derail your project.
Common Troubleshooting Tips for Your DIY Headboard
Even with careful planning, issues arise. If your wood warps? That's often due to uneven moisture. Solution: Acclimate planks indoors for 48 hours before building, and seal all sides evenly. Uneven staining? Test on scraps first—reclaimed wood absorbs variably, so dilute stain for lighter areas.
What if the headboard feels wobbly? Reinforce with additional cross-braces, using 2x2 lumber cut to 20 inches, screwed diagonally. For splintering during cutting, wrap edges in painter's tape. Remember that time you thought a quick sand would suffice, only to end up with a prickly surface? Always go finer than you think. Warnings: Avoid pressure-treated wood—it's not reclaimed and contains chemicals unsuitable for indoor use. If sourcing from unknown origins, test for lead paint with a home kit.
On a positive note, these fixes build skills. One anecdote: A friend in the South once mismatched plank thicknesses, creating a lumpy headboard. By shimming thinner pieces with wood strips, it turned into a textured masterpiece. Embrace the learning curve—it's what makes DIY rewarding.
Next Steps to Enhance Your Rustic Bedroom Upgrade
You've built it—now integrate it fully. Pair with linen bedding in earth tones for that cozy rustic bedroom inspiration. Consider adding LED strip lights behind for a soft glow, wired safely with low-voltage options. Budget tip: Source affordable accents from thrift stores, like vintage mirrors or woven baskets.
Looking ahead, expand your eco-friendly DIY bedroom projects. Try matching nightstands from leftover wood, or explore reclaimed materials for home decor like floating shelves. For deeper dives, check internal links to our guides on sustainable staining techniques or bedroom lighting ideas. As you admire your handiwork, reflect on the journey—from raw materials to a space that feels uniquely yours. It's more than decor; it's a statement of creativity and care for the planet.
We encourage you to start small, perhaps with a mini prototype for a guest room. The beauty of this project lies in its adaptability—scale it, stain it, shape it your way. Before long, you'll have a bedroom that wraps you in luxurious coziness every night. Happy crafting!
Shop The Look
Get the items featured in this post and bring the style home.


Next Post
Coming Soon →